» Linux
Configure email retriever
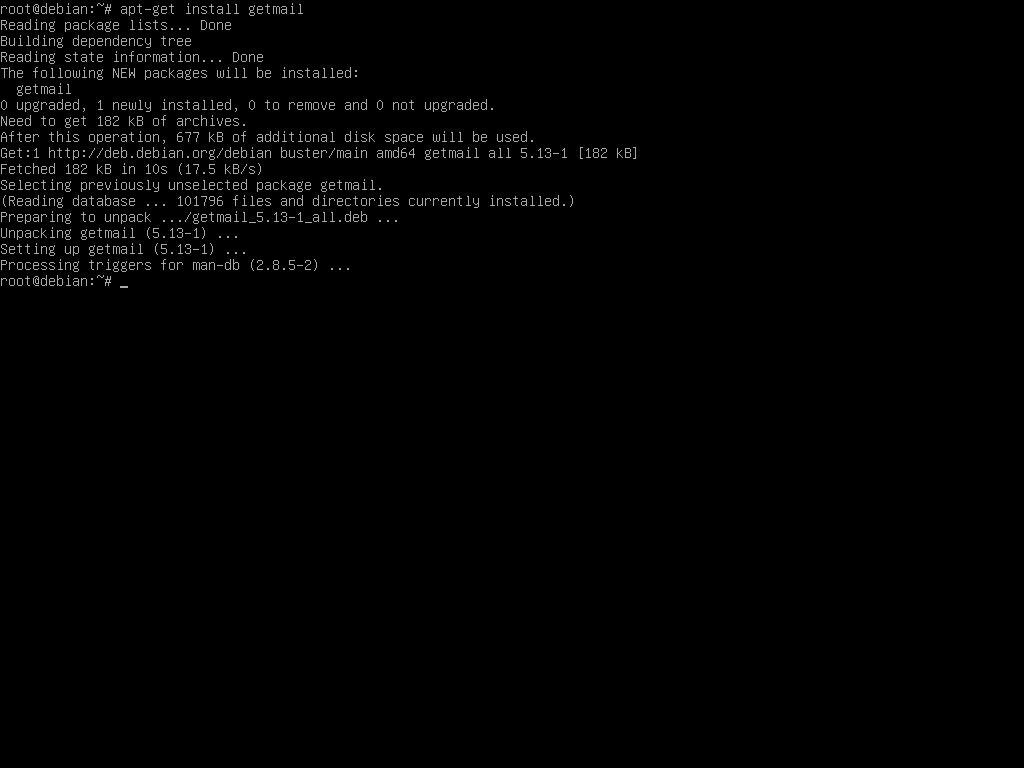
First, we'll be installing the software that will download each user's emails from their email accounts using the POP3 protocol. To accomplish that, log into the server as root user and run the following command:
apt-get install getmail

After installation of the getmail software, exit as root user by typing exit at the command line and login as an account user. You should repeat the steps below for each user you have created on the server:
mkdir .getmail
cd .getmail
nano getmailrc
copy and paste the text below, making sure to change the settings marked in bold with the user's email account settings:
[retriever]
type = SimplePOP3SSLRetriever
server = mail.yourdomain.com
port = 995
username = email@yourdomain.com
password = email password
[destination]
type = Maildir
path = ~/Maildir/
[options]
delete = true
message_log = ~/.getmail/log.txt
# retrieve only new messages
# if set to true it will re-download ALL messages every time!
read_all = true
To save the getmailrc file, press the CTRL + X keys and press Y. The nano editor will then save the file and exit.
To check if the configuration is working, run the command getmail . This will make the software retrive ALL current emails from the real email account and save them to the user's account on the local server. This process will take some time if you have lots of emails stored in the email account. You will then be able to access those emails either through roundube (that you installed in Step 3) or using an email client like Thunderbird or Outlook and connect to the local server through IMAP (using the local server's IP as the IMAP server)
After all the emails have been downloaded, create a cronjob to run every 5 or 10 minutes (depending on the number of emails that are received by the user's email account) by using the following command:
crontab -e
and copy and paste the line below:
*/5 * * * * getmail >/dev/null 2>&1
To save the cron job, press the CTRL + X keys and press Y. The nano editor will then save and exit. To check if the new cron job has been successfully saved, type the following command to list the current cron jobs for this user:
crontab -l
That's it. This user's email retrieving is now fully automated and stored to your local server. To setup another user's account, repeat the above process (type exit to close the current user's session first and login as another user)